Work Flow
The Workflow settings is available under Application Settings.
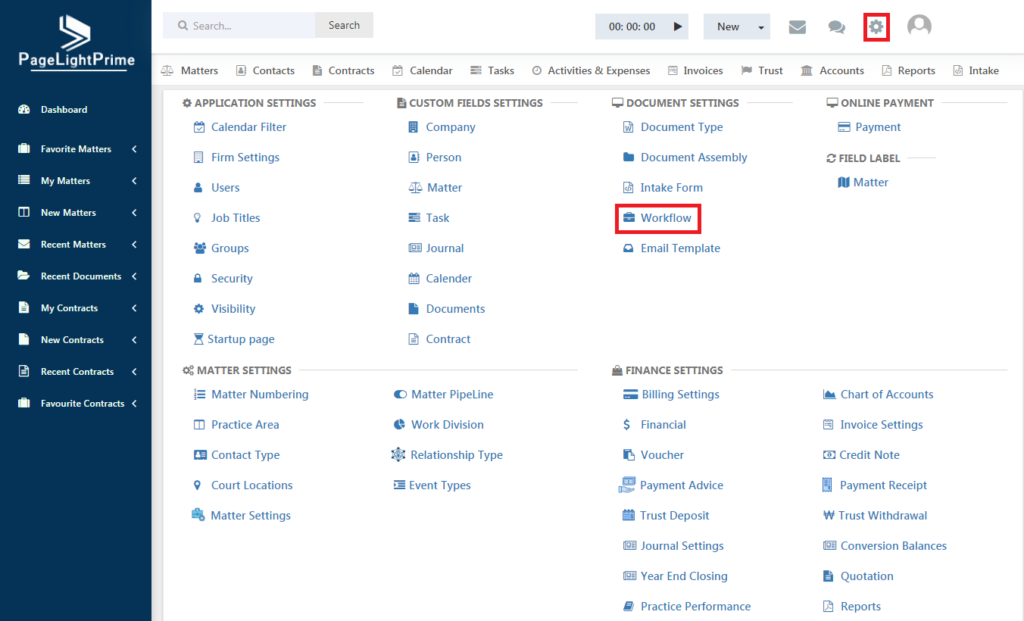
Clicking on Workflow opens a page like the below.
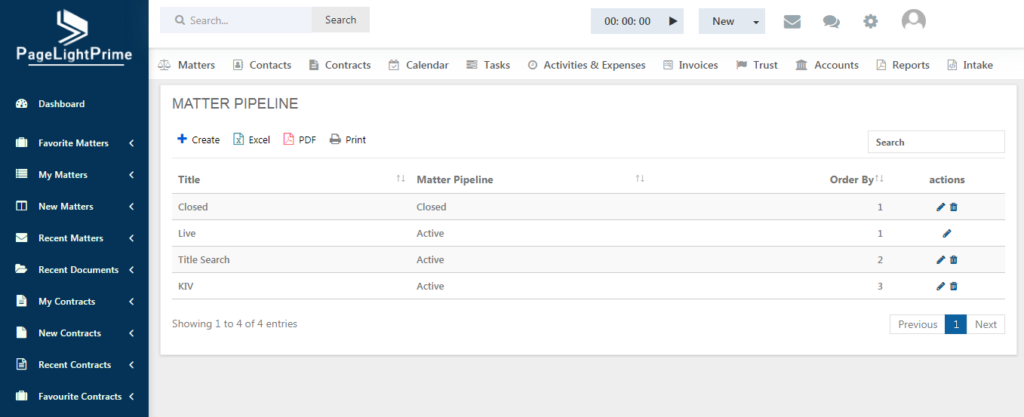
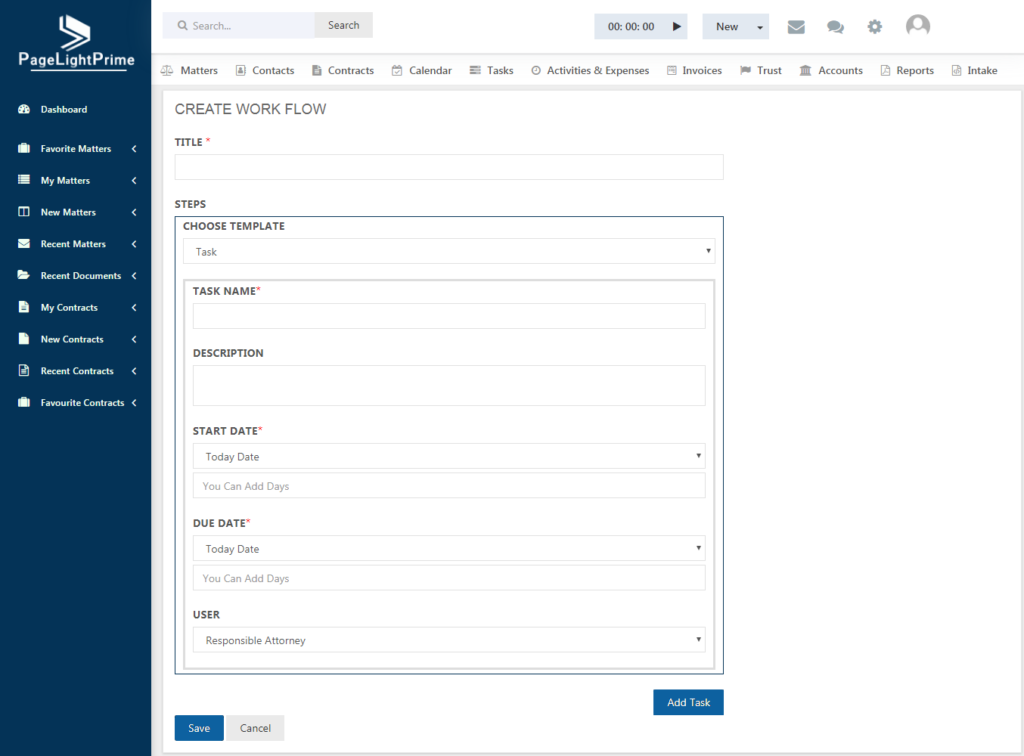
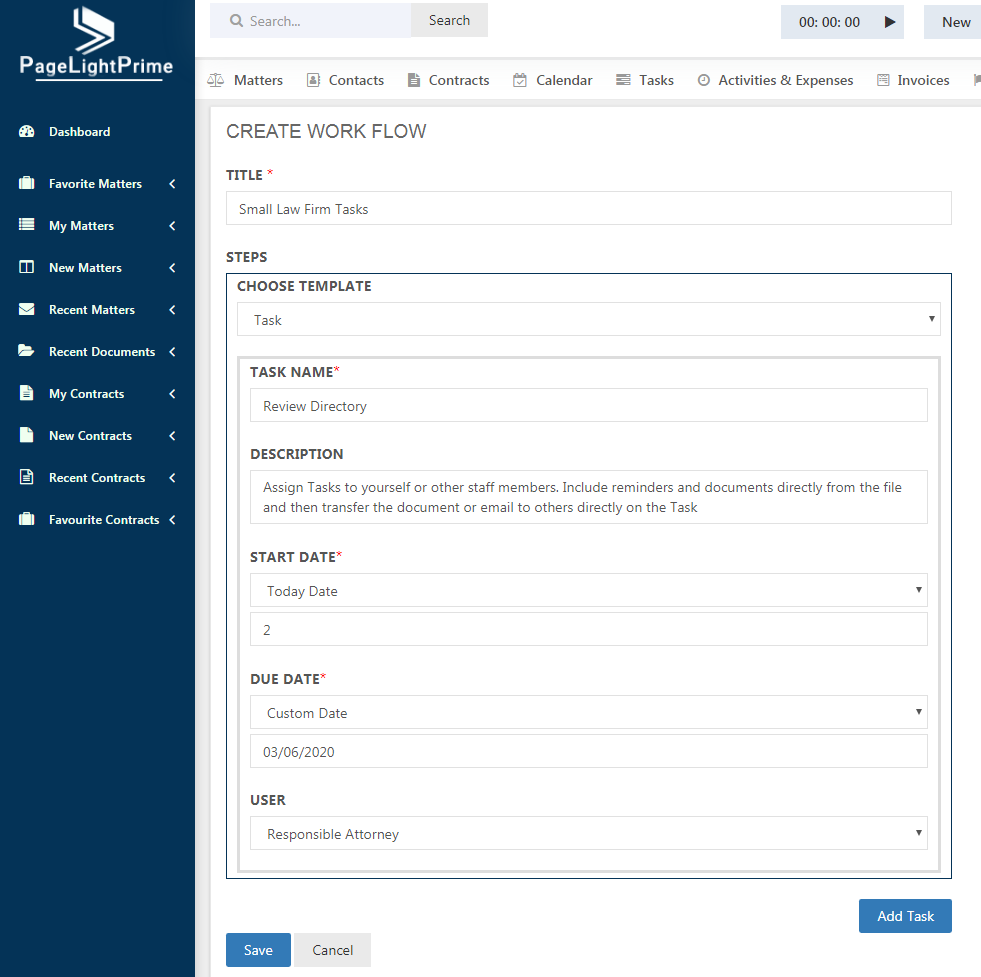
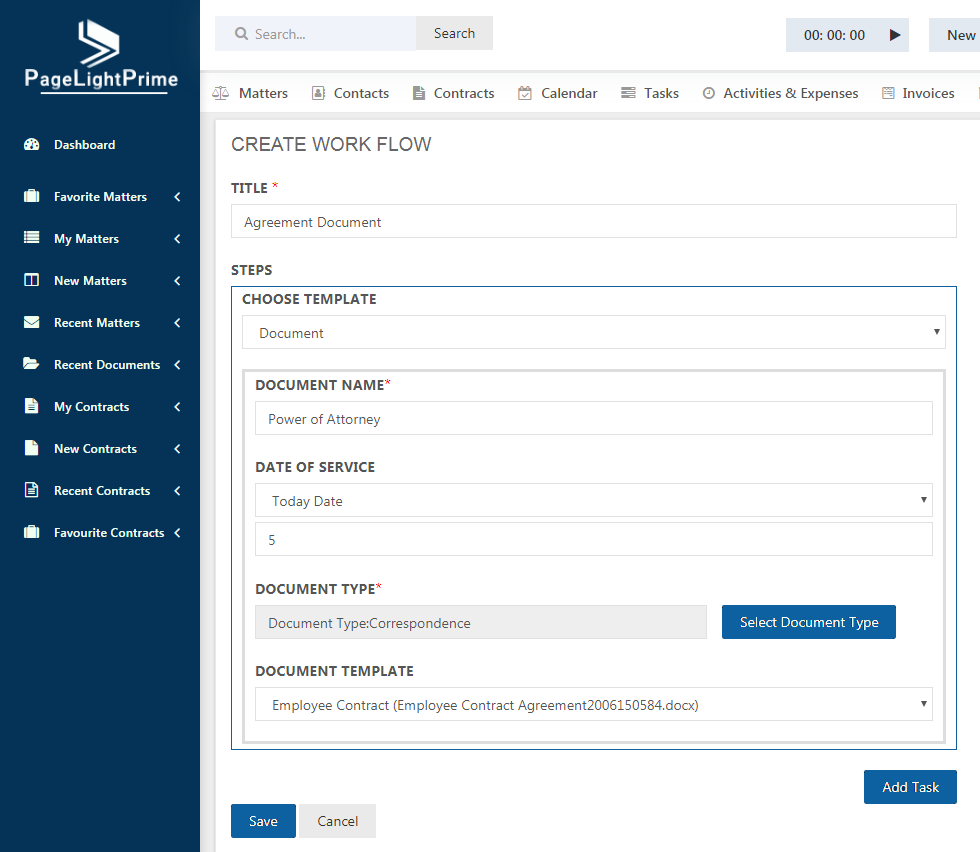
To create a new Workflow, click on the ‘Add’ button on the top left. The below page opens. Give a relevant title for the workflow.
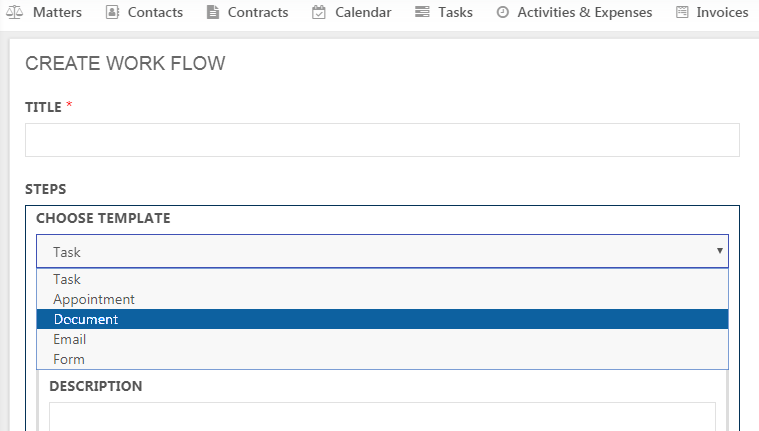
Five different types of Workflow creation can be done. These include creation of Task, Appointment, Document, email and form.
Task
To create a Task Workflow, choose Task from the drop down of Templates. This is used to keep track of one’s task. Give the task a suitable name. Choose the start date which can be either today’s date or matter open date or custom date. You can add any number of days from the start date or matter open date or choose a date from the calendar for customizing date. The same options are available for due date. Select the user whose tasks you wish to track. You can add any number of tasks.
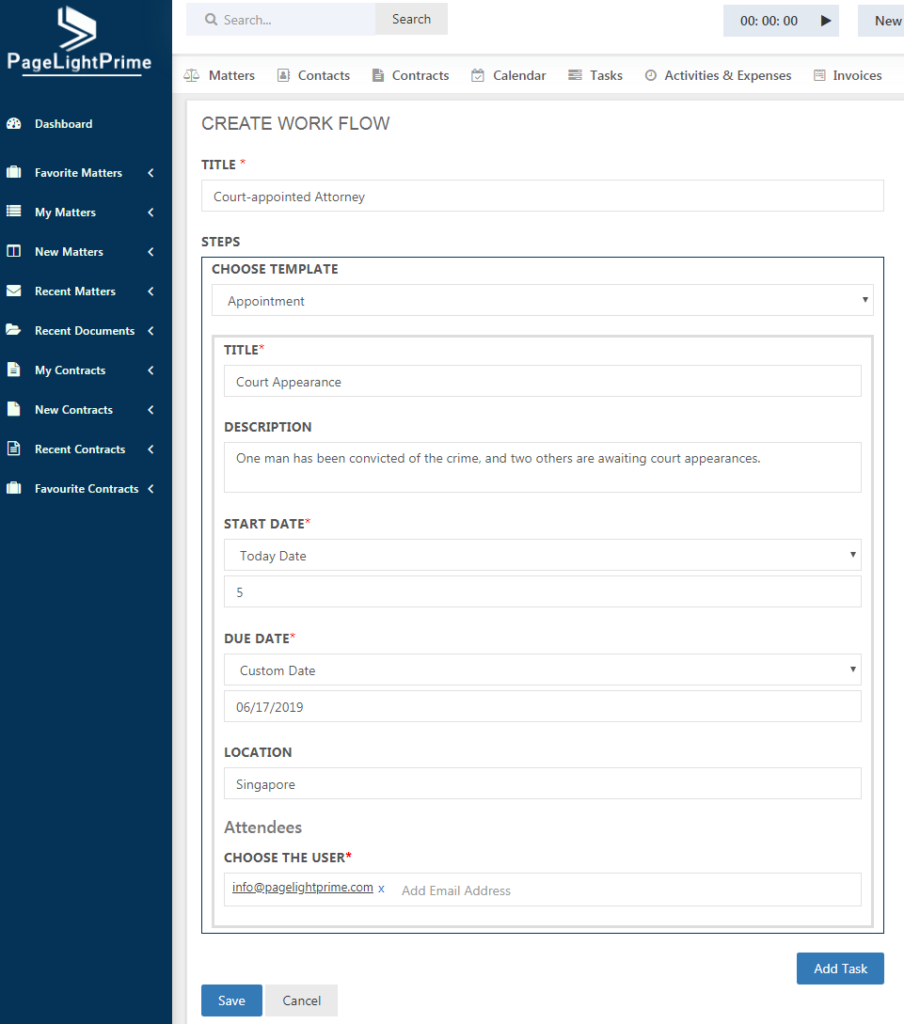
Appointment
Appointments can be created for clients and users and external people. Give a suitable title for the Appointment and select the start date and due date. Fill the location where the appointment has to be carried out. Select the attendees by entering their email ids. Click ‘Save’.
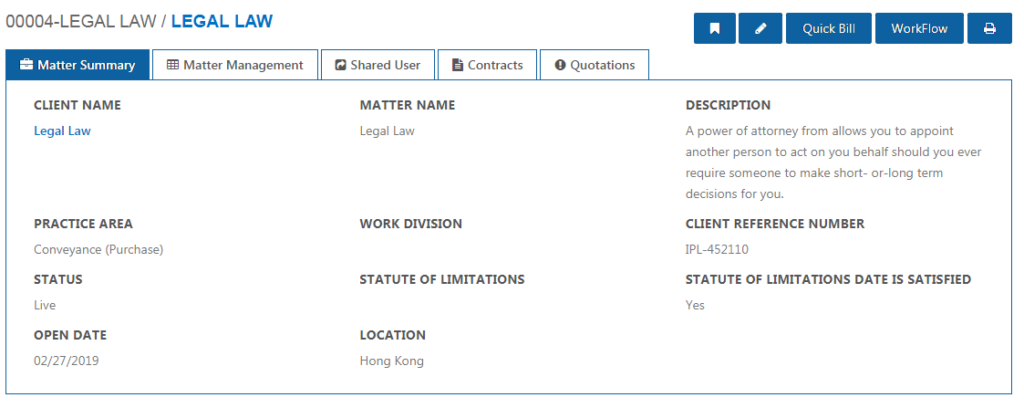
After creating appointment workflow, go to Matters and click on any matter name. The workflow button appears on the right.
Clicking on the Workflow button opens a window on the right prompting to select any workflow. Choose the workflow created for appointment and click ‘Run’ button.
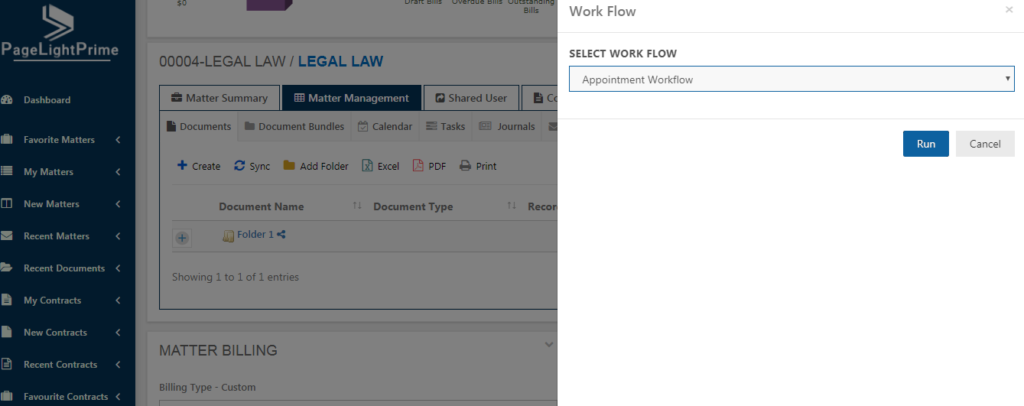
Once the workflow has finished running, appointment will be sent to the entered email id through email and the same will be reflected in the user’s Calendar view.
Document
Give a name to the document and choose the date of service.
The Document Type option helps to tag the document to a particular type. There are also sub-types under each document type as shown below.
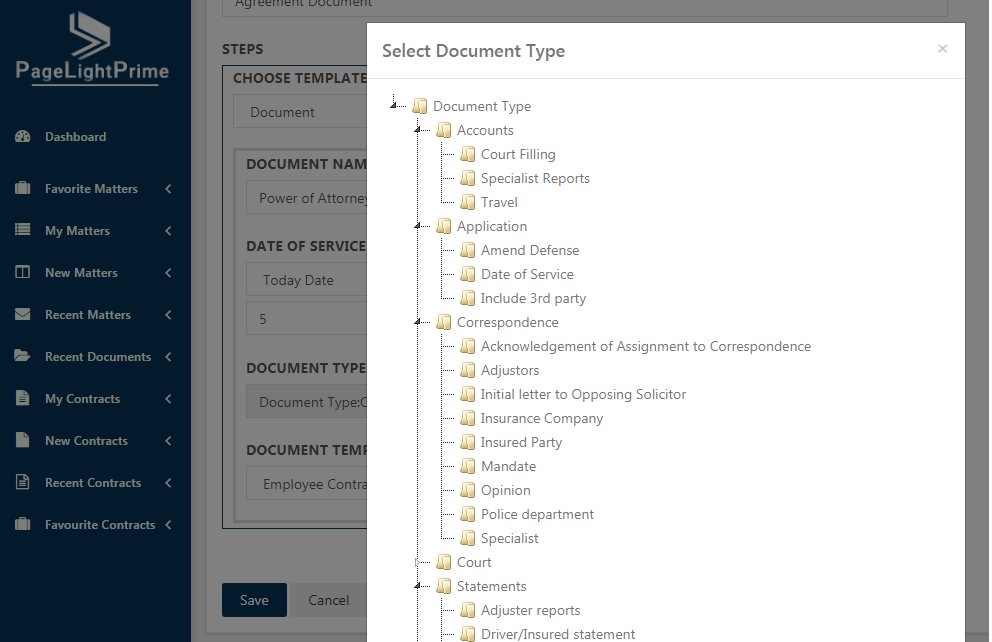
Select the appropriate Document Type and move on to Document template.
The Document template allows you to select a document from the documents available in the pool of Document Assembly.
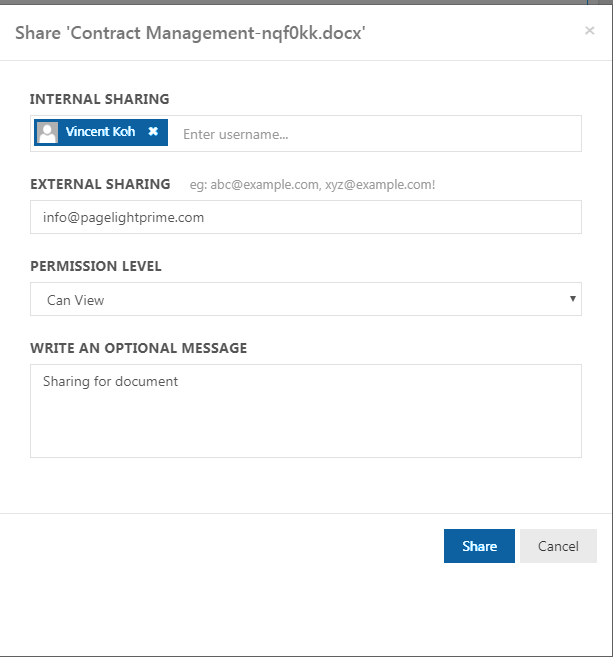
Click ‘Save’ and run the workflow. The created Document will be visible in the tasks. This document can be shared with others by clicking on the share button.

After the share button is clicked, select the user for internal sharing or enter the email id for external sharing and choose the permission level and press the ‘Share’ button. The document will get shared.
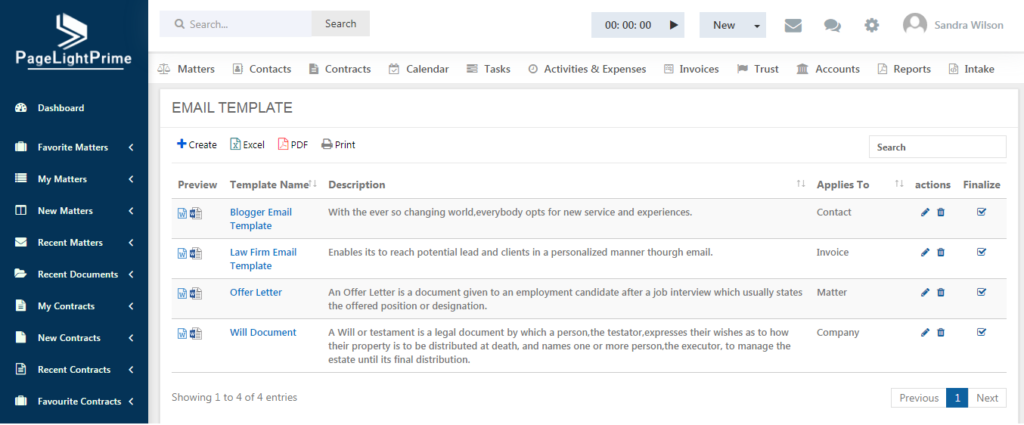
The email workflow lets user to select an existing email template under the document template field that was created using the ‘E-mail template’ options under Application Settings.
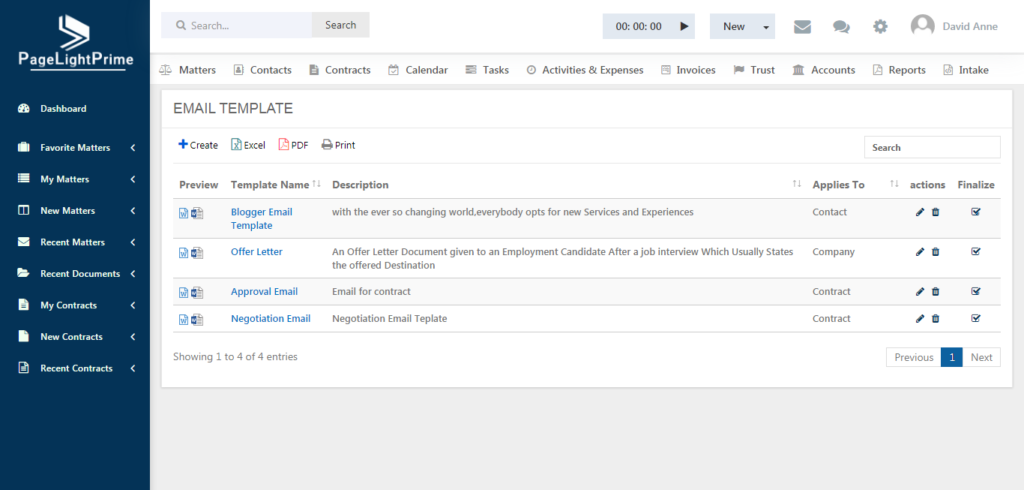
Enter the title, start date and due date. The existing email templates are listed under document template, letting the user to choose one.
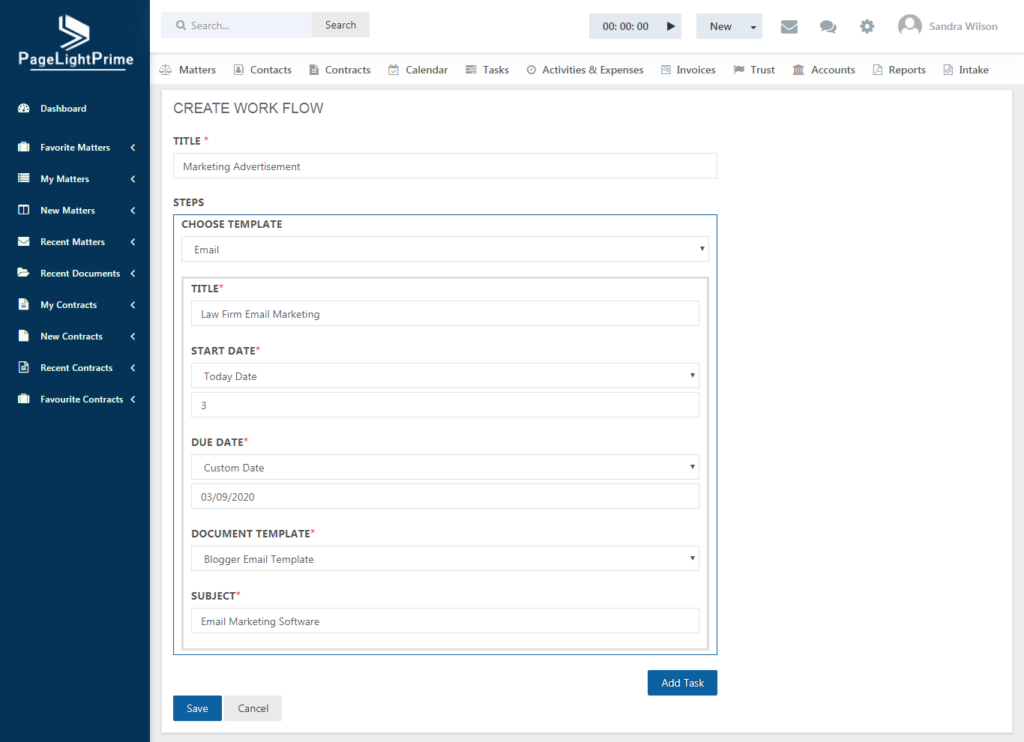
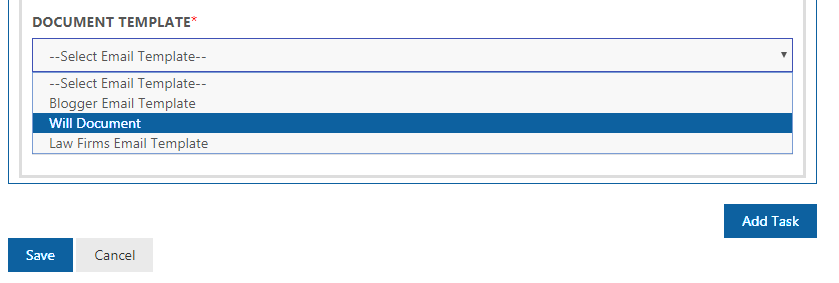
Once the email template is chosen, the subject is automatically retrieved.
Click ‘Save’ after entering other details.
Once this workflow is run, go to Tasks. Click the share email button in the right.
The below page appears allowing to share the email.
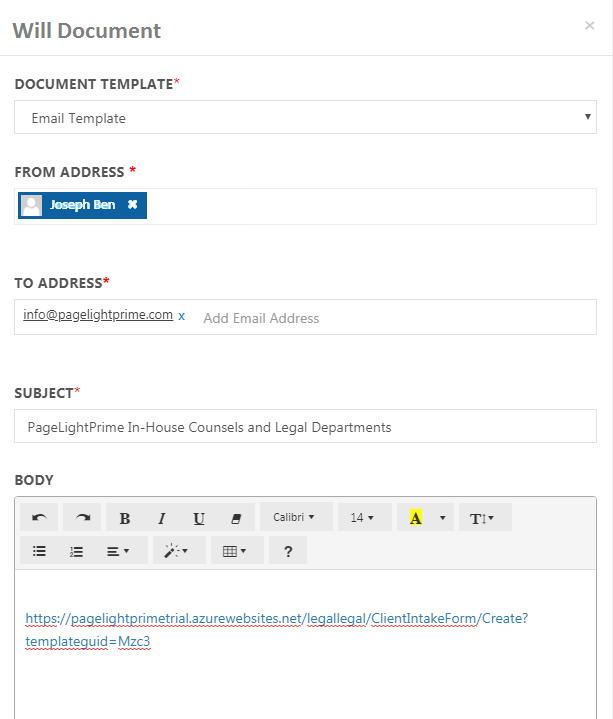
Add the receiver’s address and content if any and click ‘Send’.
Form
Forms can be created using Work Flows. This has provision to select both Email template( under Document Template Label) and intake forms template(under Intake client template label).
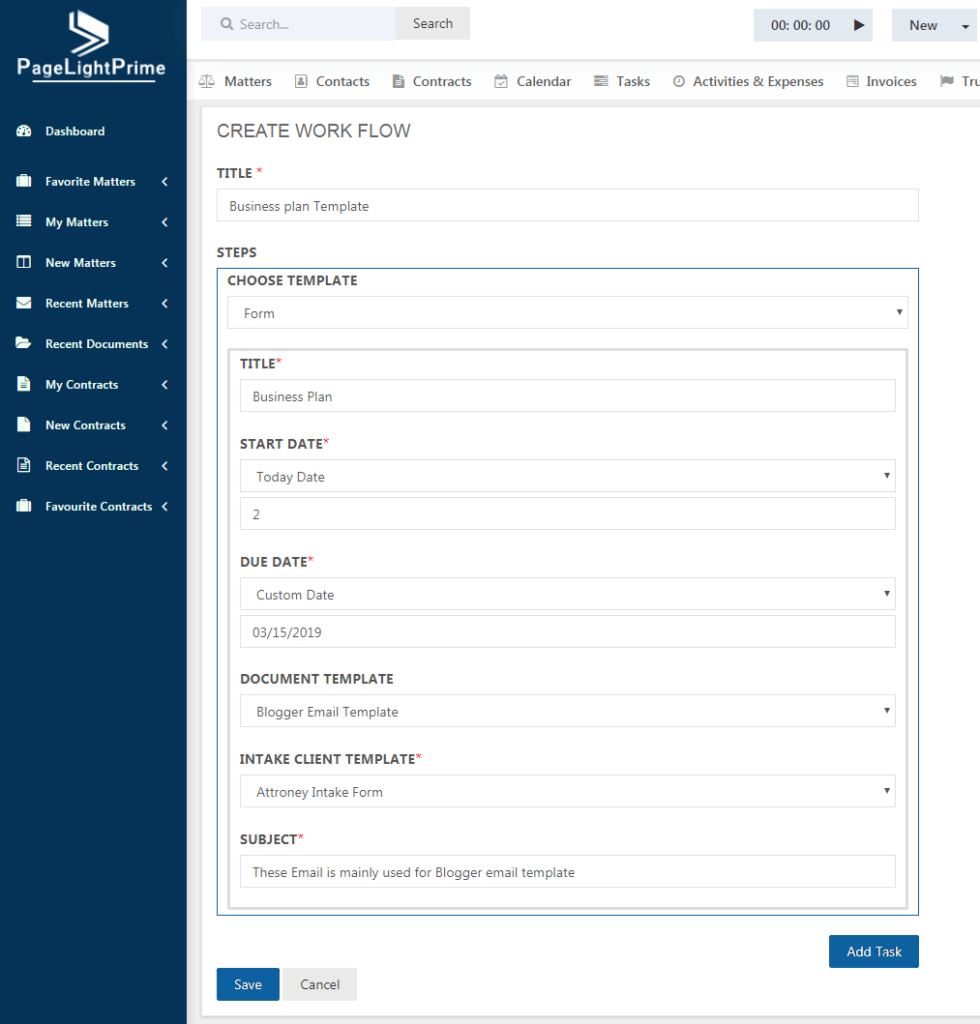
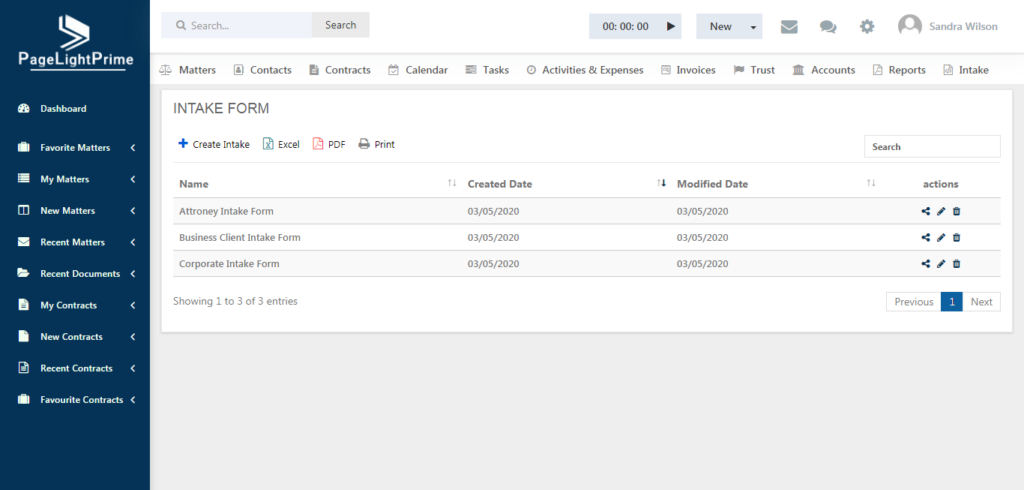
The list of intake forms that are created under Intake Form settings are shown under Intake Client Template.
Click ‘Save’ after entering the details and run the work flow.

The created form will be displayed under Tasks with a provision to share the form. Clicking on the ‘Share Form’ button opens a page like the below.

Select the Receiver’s mail address. Note that the URL of the intake form will be present in the body of the mail. Click ‘Send’ and the link for the form will be mailed to the desired recipients.