Invoice Settings
Creating Invoice for matters is pretty simple using PageLightPrime. Click on the Invoice Settings under PageLightPrime Settings
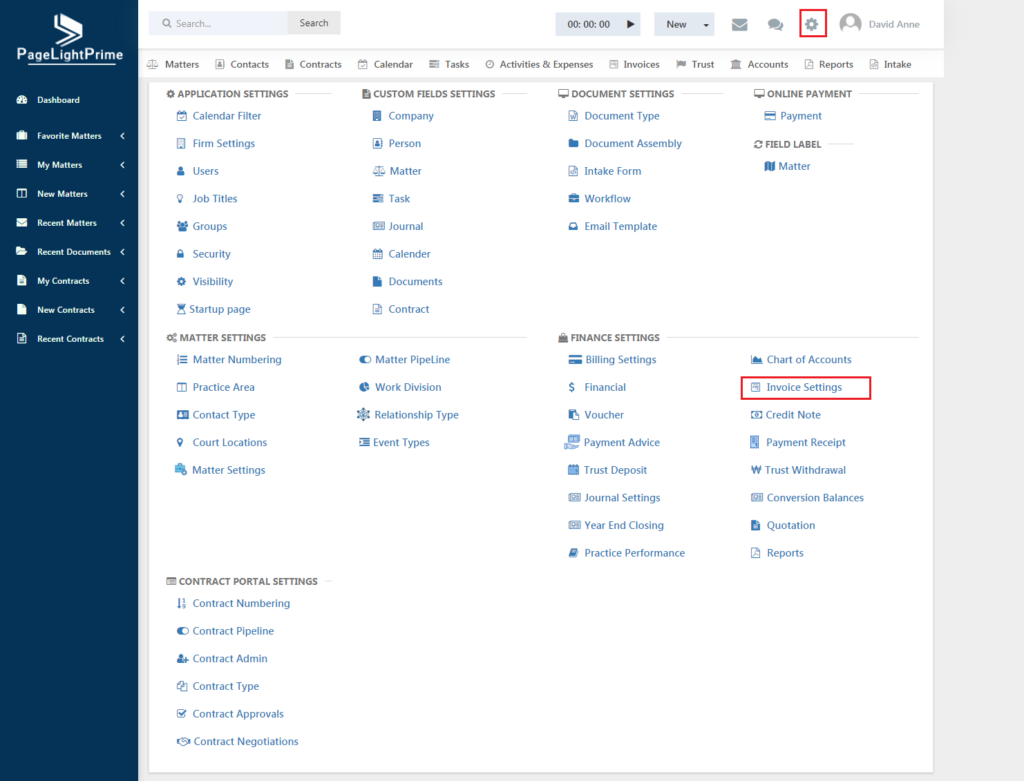
The below page appears.
Invoice Number
Click Invoice Number tab in Invoice Settings. Add a prefix for your invoice to generate a unique invoice number. Fill the number of digits you want your invoice number to contain. The “Payment Terms” and “Message to the Client” text box allows you to enter the type of payment and allows you to give a description or message to your client.
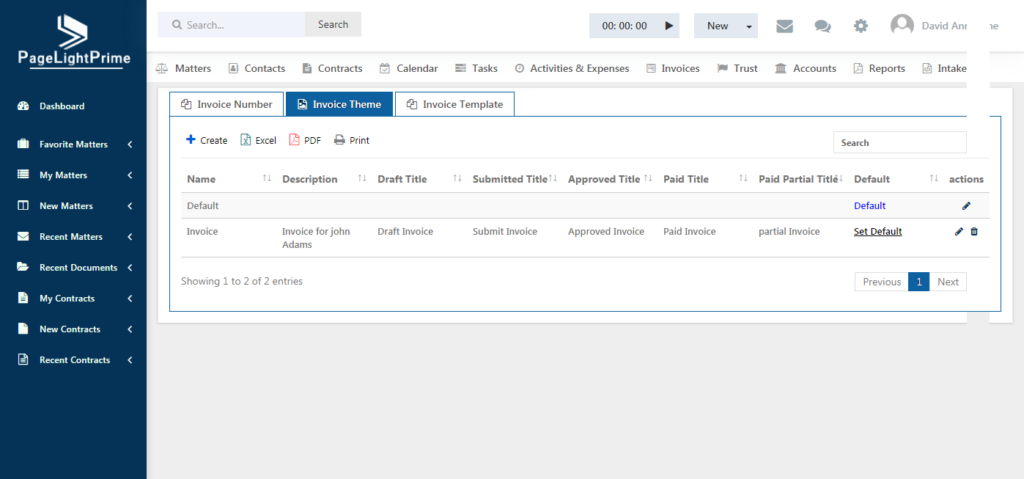
Invoice Theme
PageLightPrime also allows to fully customize the page design of the invoice or provide a desired theme for the invoice. To customize the invoice, click Invoice Theme button and then click Add.
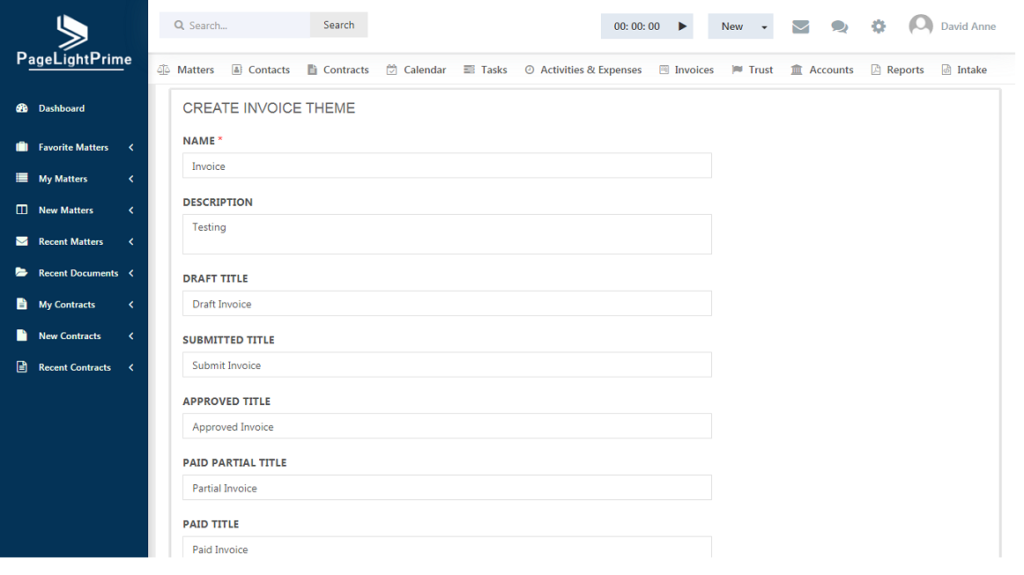
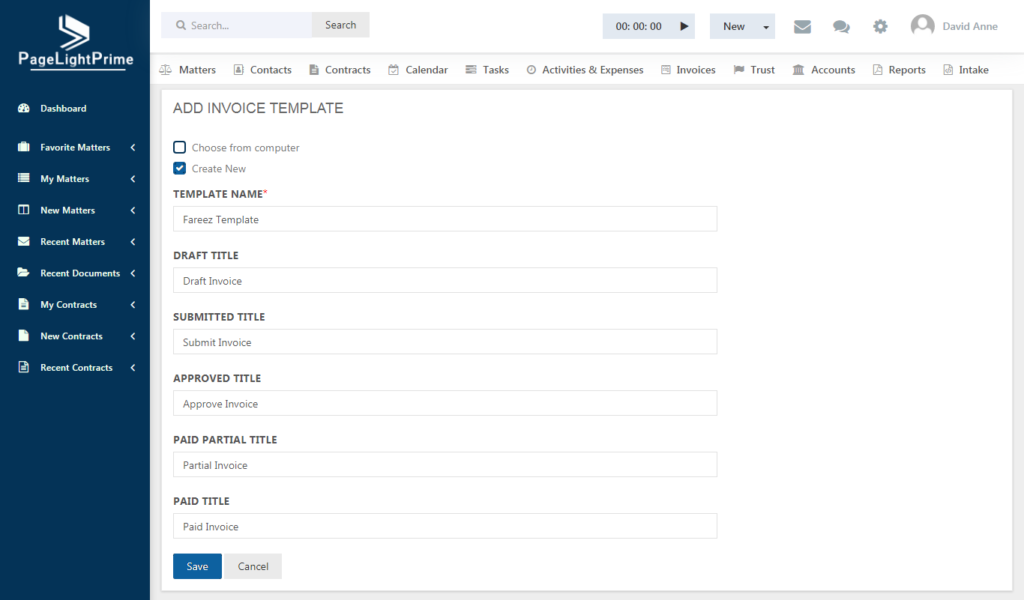
The below page appears which prompts the user to enter the titles for the invoice.
Advanced options are given on the right-side screen of the page, which allows you to add / remove / select / align any element such as the Header information or Company Logo etc. to the invoice. Immediate changes as per the selection can be seen in the left part of the screen.
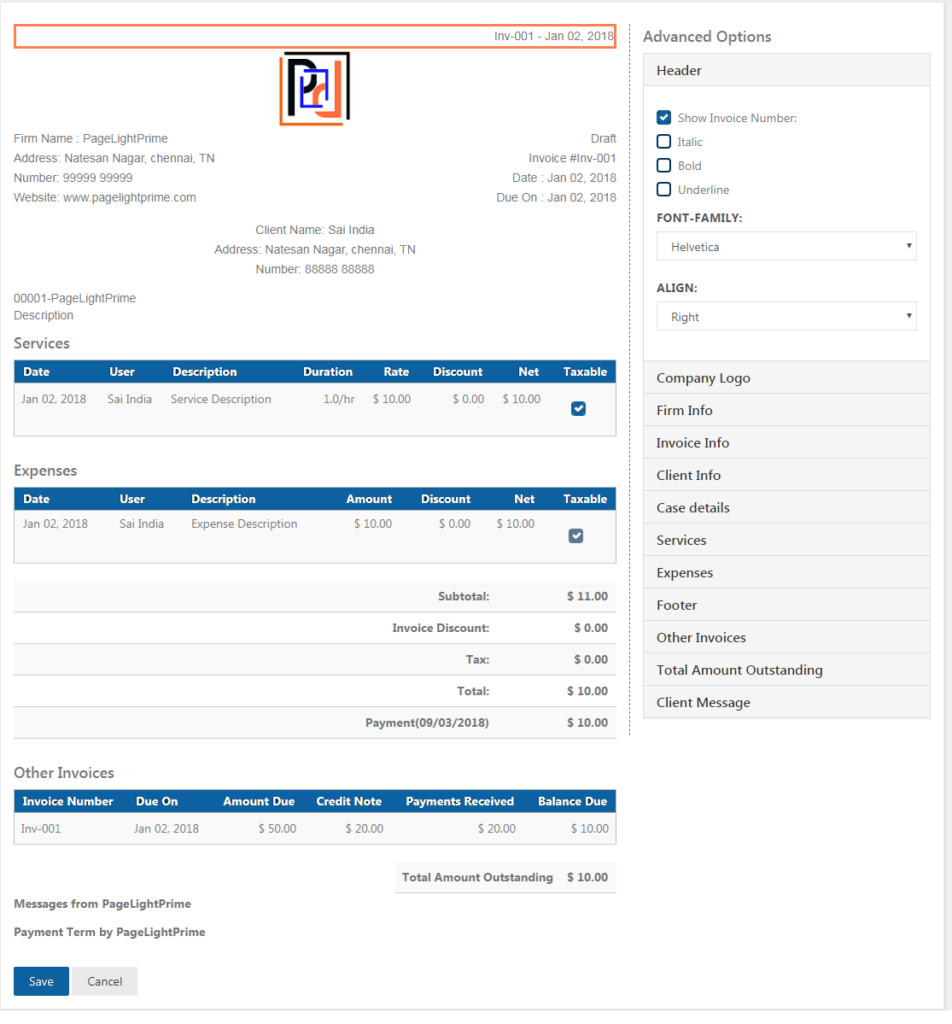
Click Save after making the changes.
Invoice Template
Navigate to the Invoice Template tab in the Invoice Settings. The software will have the default templates listed in place, which the user can use or edit as per the user’s liking.

To design a new template, click Add button on the left. The below page appears.
Design the template to include all of the information and fields needed and browse and upload the document. From then on, this will be one of the available options under the Invoice Template tab.
The ability to customize invoices in this manner is an excellent organizational tool and a way in which firms can provide customized services to clients in a streamlined and efficient manner.